
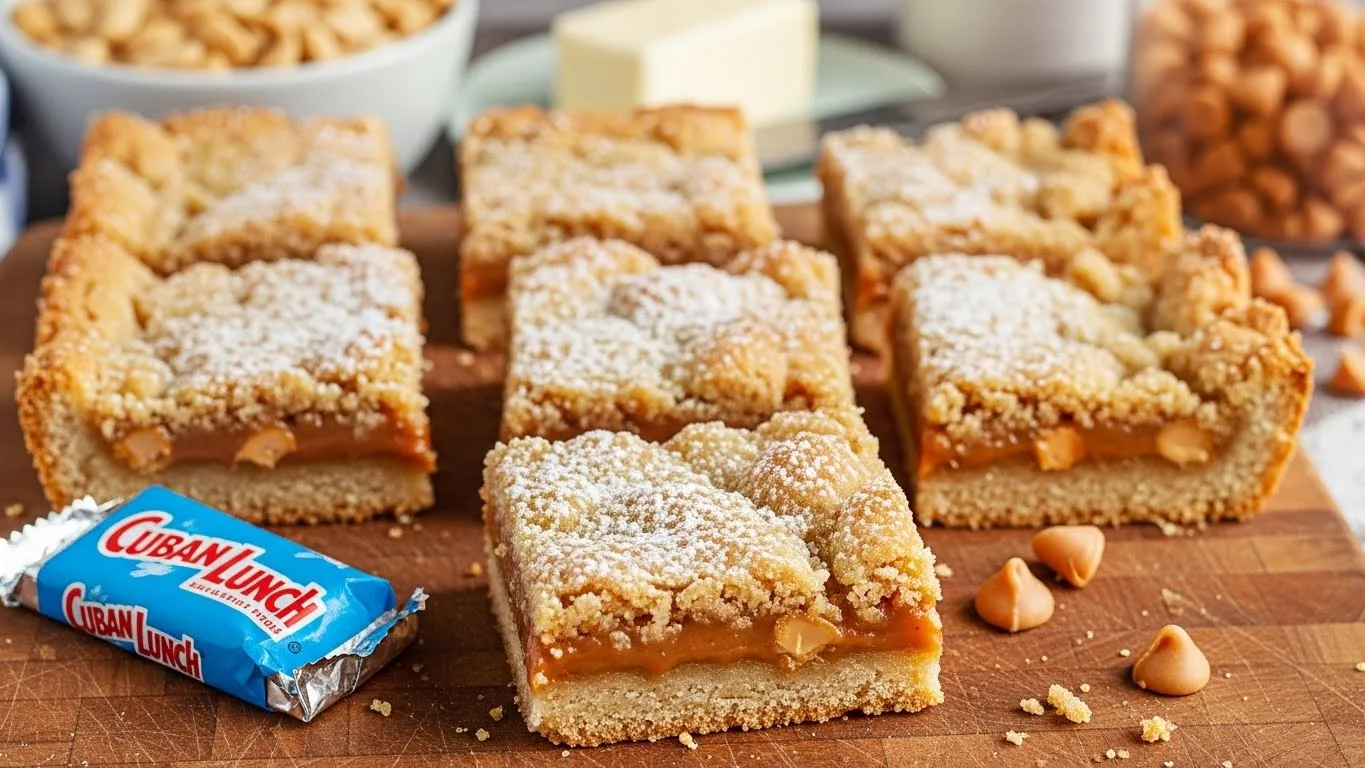
Cuban Lunch Bars Recipe
The Cuban Lunch Bars Recipe is a nostalgic, old-fashioned Canadian treat made with melted chocolate, peanuts, and crushed potato chips. Known for its salty–sweet flavor and crunchy texture, this no-bake dessert perfectly recreates the beloved Cuban Lunch candy cups that disappeared from store shelves many years ago. With simple ingredients and easy steps, this recipe lets you enjoy the authentic taste of these classic treats right at home.
These homemade Cuban Lunch Bars are rich, chocolatey, and incredibly satisfying. They are great for holiday platters, gifting, parties, or whenever you want a quick dessert that requires minimal effort. The salty peanuts and crispy chips blend beautifully with creamy chocolate, making every bite irresistible.

Time and Servings
- Preparation Time: 10 minutes
- Chilling Time: 1–2 hours
- Total Time: 1 hour 15 minutes
- Servings: 12 bars
This simple and quick Cuban Lunch Bars Recipe comes together in just minutes and is perfect for beginners.

Ingredients Needed
Ingredients Table
| Ingredient | Quantity |
|---|---|
| Semi-sweet chocolate chips | 2 cups |
| Butterscotch chips | 1 cup |
| Salted roasted peanuts | 1 cup |
| Crushed ripple potato chips | 1 cup |
| Peanut butter (optional) | ½ cup |
| Vanilla extract (optional) | 1 teaspoon |
| Cupcake liners | As needed |
These basic ingredients blend into a crunchy, sweet, salty, chocolatey treat that tastes just like the original Cuban Lunch candy.

How to Make Cuban Lunch Bars
Step 1: Melt the Chocolate
Place the chocolate chips and butterscotch chips in a microwave-safe bowl. Microwave in 20–30 second intervals, stirring each time, until smooth and fully melted.
(Alternatively, melt over a double boiler.)
Step 2: Add Peanuts and Chips
Once the chocolate mixture is melted, stir in the salted peanuts and crushed ripple potato chips. Combine well so everything is coated evenly.
Step 3: Enhance the Flavor
If adding peanut butter or vanilla extract, mix them in now. This adds creaminess and deeper flavor.
Step 4: Portion the Mixture
Line a muffin tin with cupcake liners. Spoon the chocolate mixture into each liner, filling them about ¾ full.
Step 5: Chill Until Firm
Place the muffin tin in the refrigerator and chill for 1–2 hours until the bars are fully set.
Step 6: Serve
Once firm, remove the bars from the liners and serve chilled. Store extras in the fridge.

Kitchen Tools Needed
- Microwave-safe bowl or double boiler
- Muffin tin
- Cupcake liners
- Mixing spoon
- Measuring cups
- Rubber spatula
- Refrigerator
Serving Suggestions
These Cuban Lunch Bars pair well with:
- Hot coffee or black tea
- Holiday dessert platters
- Gift boxes and party trays
- Ice cream sundaes
- After-dinner chocolate snacks
You can also drizzle them with white chocolate or sprinkle crushed nuts on top for extra texture.

Common Mistakes to Avoid
- Over-crushing the potato chips – Keep medium-sized pieces for the perfect crunch.
- Using unsalted peanuts – Salt enhances the sweet–salty balance.
- Overheating the chocolate – Melt gently to prevent grainy texture.
- Skipping chilling time – Bars need to fully set before serving.
- Adding too much peanut butter – It may make the bars too soft.

Chef’s Tips
- Use rippled chips for the best crunchy texture.
- Replace half the chocolate with dark chocolate for a more intense flavor.
- Add ½ cup shredded coconut for a richer bite.
- Use colorful cupcake liners to create festive holiday treats.
- Freeze the bars for 10 minutes for quicker firming.
Nutritional Information
Per Serving (Approx.)
- Calories: 260
- Fat: 17g
- Carbohydrates: 24g
- Protein: 5g
- Fiber: 2g

Conclusion
This Cuban Lunch Bars Recipe perfectly recreates the nostalgic candy loved across Canada. With only a few ingredients and zero baking required, these bars are incredibly simple to make and deliver the ideal balance of sweet, salty, crunchy, and creamy. Whether you’re making them for holidays, gifting, or satisfying a chocolate craving, these homemade bars will quickly become a family favorite.
FAQs
1. Can I make Cuban Lunch Bars without butterscotch chips?
Yes, you can use extra chocolate chips instead, though the flavor will be slightly less sweet.
2. How long do these bars last?
They last up to 2 weeks in the refrigerator and 3 months in the freezer.
3. Can I use different nuts?
Yes! Almonds, cashews, or mixed nuts work well, though peanuts are the classic choice.
4. What kind of potato chips work best?
Rippled or thick-cut chips provide the perfect crunch and hold up better in melted chocolate.
5. Can I make these bars dairy-free?
Yes! Use dairy-free chocolate chips and omit butterscotch chips or replace with vegan substitutes.
Visit More Ideas : www.recipesbyariana.com


