Stabilized Whipped Cream – Light, Fluffy & Perfect for Cakes and Desserts
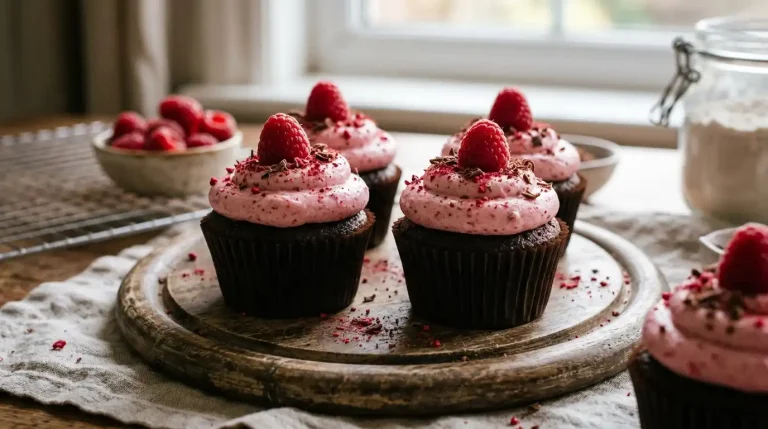
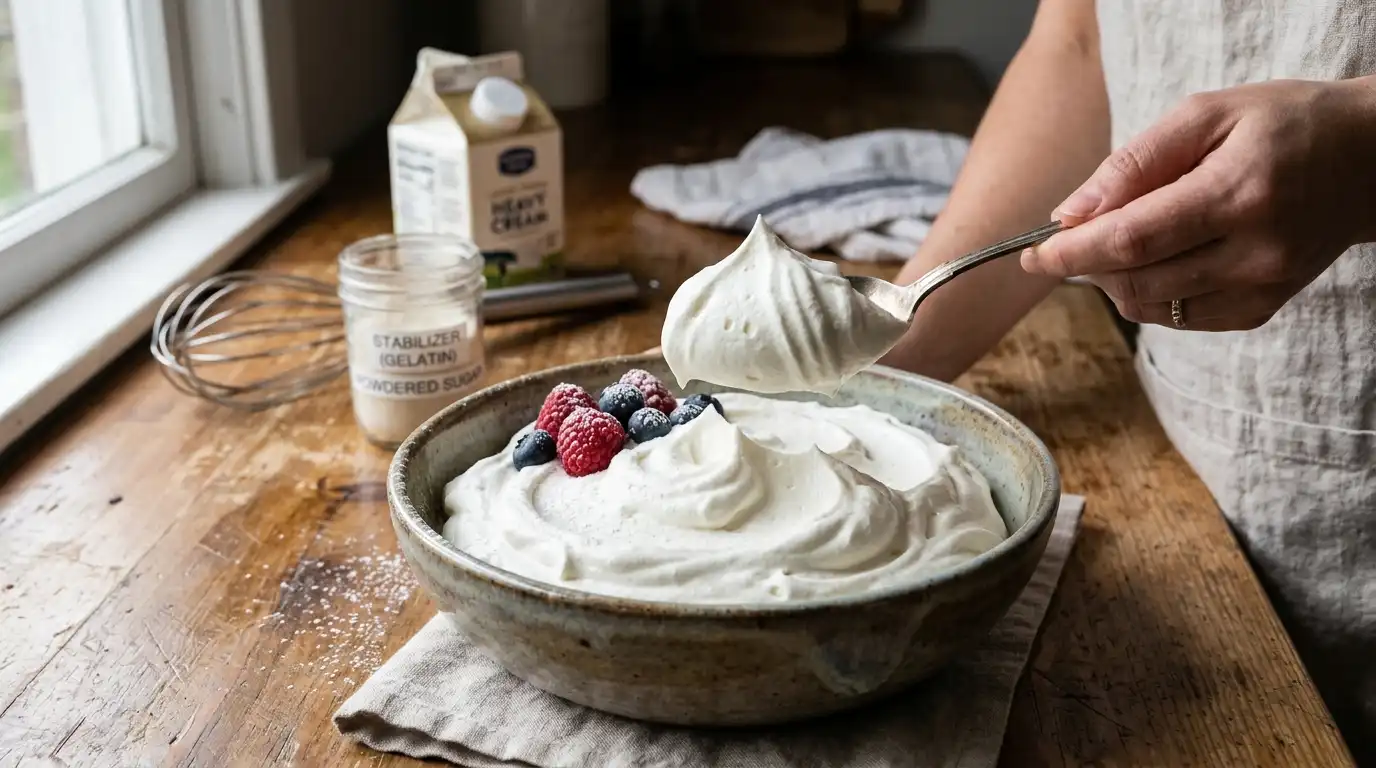
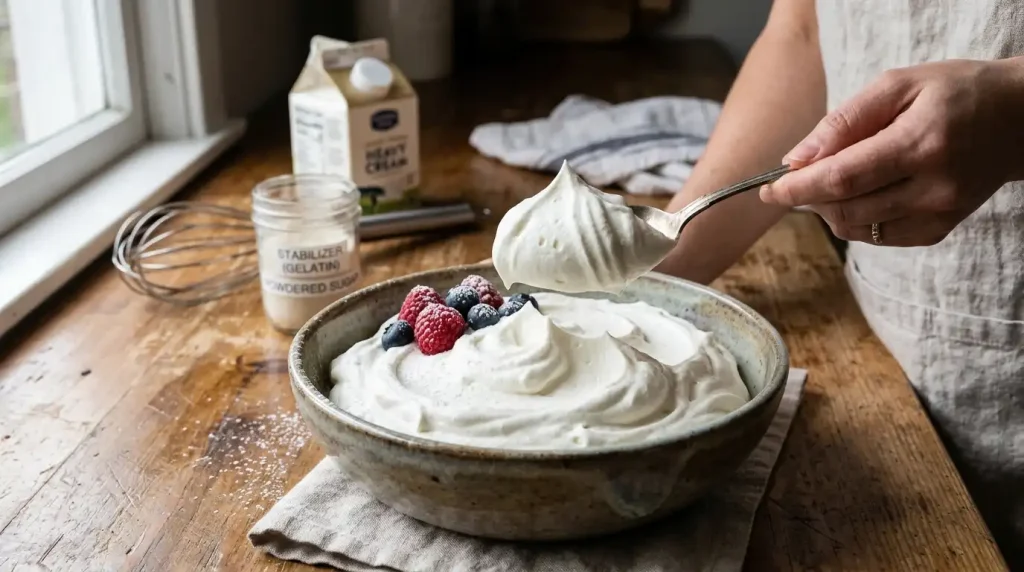
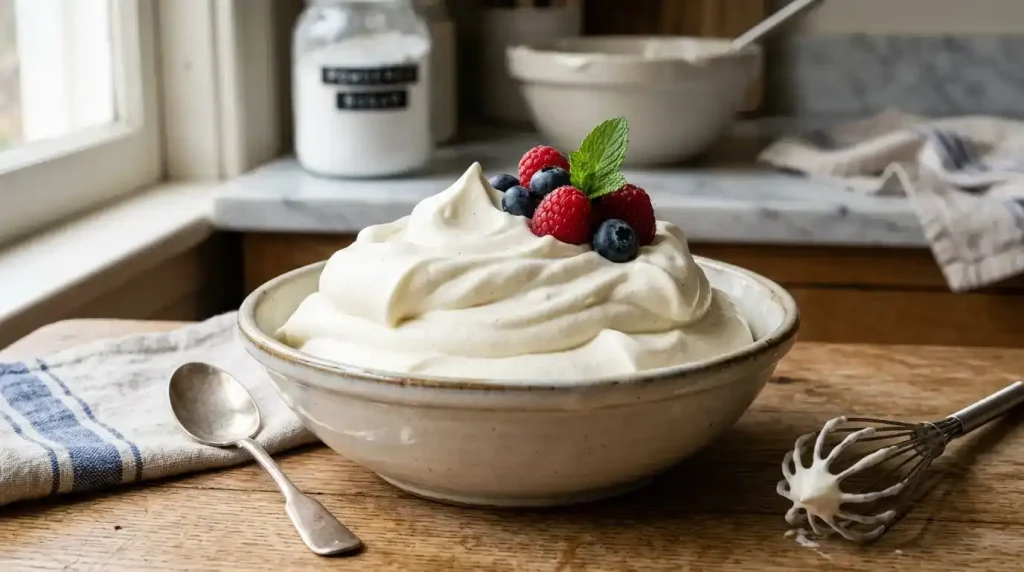
Stabilized Whipped Cream is a light, fluffy, and long-lasting homemade topping that holds its shape far better than traditional whipped cream. By adding a simple stabilizer such as gelatin, this whipped cream stays firm for hours, making it perfect for frosting cakes, piping cupcakes, decorating pies, topping cheesecakes, or serving with fresh fruit. It has the same rich, creamy flavor you love but with a texture that won’t quickly melt or deflate. Use this Stabilized Whipped Cream to frost or decorate Chocolate Raspberry Cake for an elegant homemade dessert.
Unlike store-bought whipped toppings, this homemade version is made with fresh heavy whipping cream, powdered sugar, vanilla, and a small amount of unflavored gelatin. The result is a smooth, silky whipped cream that’s easy to pipe, spread, and prepare ahead for birthdays, holidays, weddings, and special occasions. Add a generous dollop of Stabilized Whipped Cream on top of your homemade Tiramisu Latte for a café-style finish.
Why You’ll Love This Stabilized Whipped Cream
- Holds its shape for hours
- Perfect for piping and decorating
- Light and fluffy texture
- Easy homemade recipe
- Great for cakes and cupcakes
- Made with simple ingredients
- Less sweet than buttercream
- Perfect for making ahead
Preparation Time & Servings
| Detail | Amount |
|---|---|
| Prep Time | 15 minutes |
| Chill Time | 10 minutes |
| Total Time | 25 minutes |
| Servings | About 4 cups |
Ingredients
Whipped Cream
| Ingredient | Quantity |
|---|---|
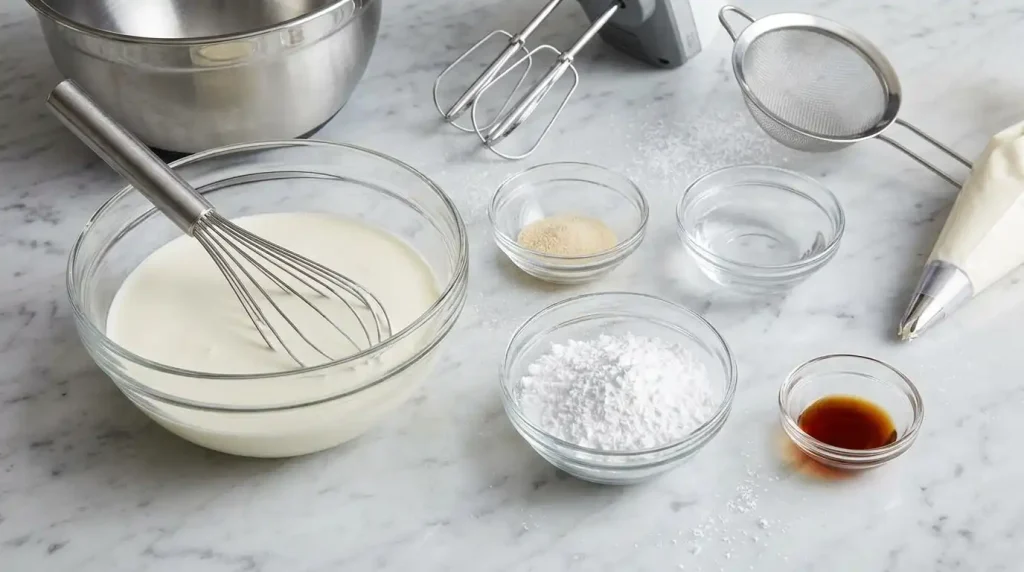
| Cold heavy whipping cream | 2 cups |
| Powdered sugar | ½ cup |
| Vanilla extract | 2 tsp |
Stabilizer
| Ingredient | Quantity |
|---|---|
| Unflavored gelatin | 1 tsp |
| Cold water | 1 tbsp |
| Hot water | 1 tbsp |
Recipe Note: Powdered sugar, vanilla, and the amount of stabilizer can all be adjusted according to your personal taste preference. Keep the heavy cream, mixing bowl, and beaters well chilled for the fluffiest whipped cream.
How to Make Stabilized Whipped Cream
Step 1: Bloom the Gelatin
In a small bowl, sprinkle the unflavored gelatin over the cold water. Let it sit for about 5 minutes until it absorbs the water.
Step 2: Dissolve the Gelatin
Add the hot water to the bloomed gelatin and stir until completely dissolved. Let it cool slightly but do not allow it to set.
Step 3: Whip the Cream
Pour the cold heavy whipping cream into a chilled mixing bowl. Beat on medium speed until it begins to thicken.
Step 4: Add Sugar and Vanilla
Mix in the powdered sugar and vanilla extract. Continue beating until soft peaks form.

Step 5: Add the Gelatin
With the mixer running on low speed, slowly drizzle in the cooled gelatin mixture.
Step 6: Beat Until Stiff Peaks Form
Increase the mixer speed and beat until stiff peaks form. Be careful not to overwhip, as the cream can become grainy.
Step 7: Use or Chill
Use immediately for frosting or piping, or refrigerate until ready to use. It will stay firm much longer than regular whipped cream.
Tips for the Best Stabilized Whipped Cream
- Chill the bowl and beaters before mixing.
- Use cold heavy whipping cream.
- Let the gelatin cool slightly before adding.
- Add the gelatin slowly while mixing.
- Stop beating as soon as stiff peaks form.
- Store covered in the refrigerator.
- Pipe immediately for the cleanest designs.
- Avoid freezing after decorating delicate desserts.
Serve Watermelon Pineapple Salad with a light topping of stabilized whipped cream for a refreshing summer dessert.
Delicious Variations to Try
Chocolate Stabilized Whipped Cream
Add cocoa powder or melted cooled chocolate for a rich chocolate version.
Lemon Whipped Cream
Mix in fresh lemon zest and a little lemon extract.
Strawberry Whipped Cream
Blend freeze-dried strawberry powder into the cream for natural flavor and color.
Espresso Whipped Cream
Add instant espresso powder for a coffee-flavored topping.
Almond Whipped Cream
Replace part of the vanilla with almond extract.
Honey Vanilla Whipped Cream
Use honey instead of part of the powdered sugar for a lightly floral sweetness.
What to Serve with Stabilized Whipped Cream
- Chocolate Raspberry Cake
- Brown Sugar Pop Tart Cookies
- Homemade Oatmeal Cream Pies
- Red White and Blue Cheesecake Salad
- Fresh berries
- Pumpkin pie
- Waffles and pancakes
- Hot chocolate
Storage & Reheating
Store Stabilized Whipped Cream in an airtight container in the refrigerator for up to 3 days. If using it to frost cakes or cupcakes, keep the finished dessert refrigerated until serving. Give the whipped cream a gentle stir if needed before using any leftovers. This recipe is not recommended for reheating.

Conclusion
This Stabilized Whipped Cream recipe is light, fluffy, and sturdy enough for decorating cakes, cupcakes, pies, and other desserts without losing its shape. With simple ingredients and an easy technique, you’ll have a bakery-quality topping that’s perfect for making ahead and adding a beautiful finishing touch to all your favorite sweet treats. Top your Peanut Butter Banana Smoothie with stabilized whipped cream for a creamy finishing touch.
Frequently Asked Questions (FAQs)
Why is my whipped cream runny?
The cream may not have been cold enough, or it wasn’t whipped to stiff peaks.
Can I make this ahead of time?
Yes. Stabilized whipped cream is designed to be made ahead and stays fluffy much longer than regular whipped cream.
Can I freeze it?
It’s best used fresh or refrigerated. Freezing may affect the texture after thawing.
Can I pipe decorations with it?
Absolutely. It’s ideal for piping rosettes, borders, and cake decorations.
Do I have to use gelatin?
Gelatin provides the most reliable stabilization, but alternatives like instant pudding mix or mascarpone cheese can also help.
Can I reduce the sugar?
Yes. Adjust the powdered sugar to suit your preferred sweetness.